From SSH to git push: how I automated deployments on my homelab
A Cookiecutter template to turn git push into container running — without touching a terminal
Introduction - Why having a home server is a good idea and how to manage it
A couple of years ago I fell down the homelab rabbit hole. Like any self-respecting nerd, I couldn’t resist the temptation of building my own little server. I’ve always been fascinated by compact, quiet setups — not necessarily the most powerful, but the ones best suited to the job. After reading dozens of posts on r/homelab and watching pretty much every video of the TinyMiniMicro series, I finally took the plunge.
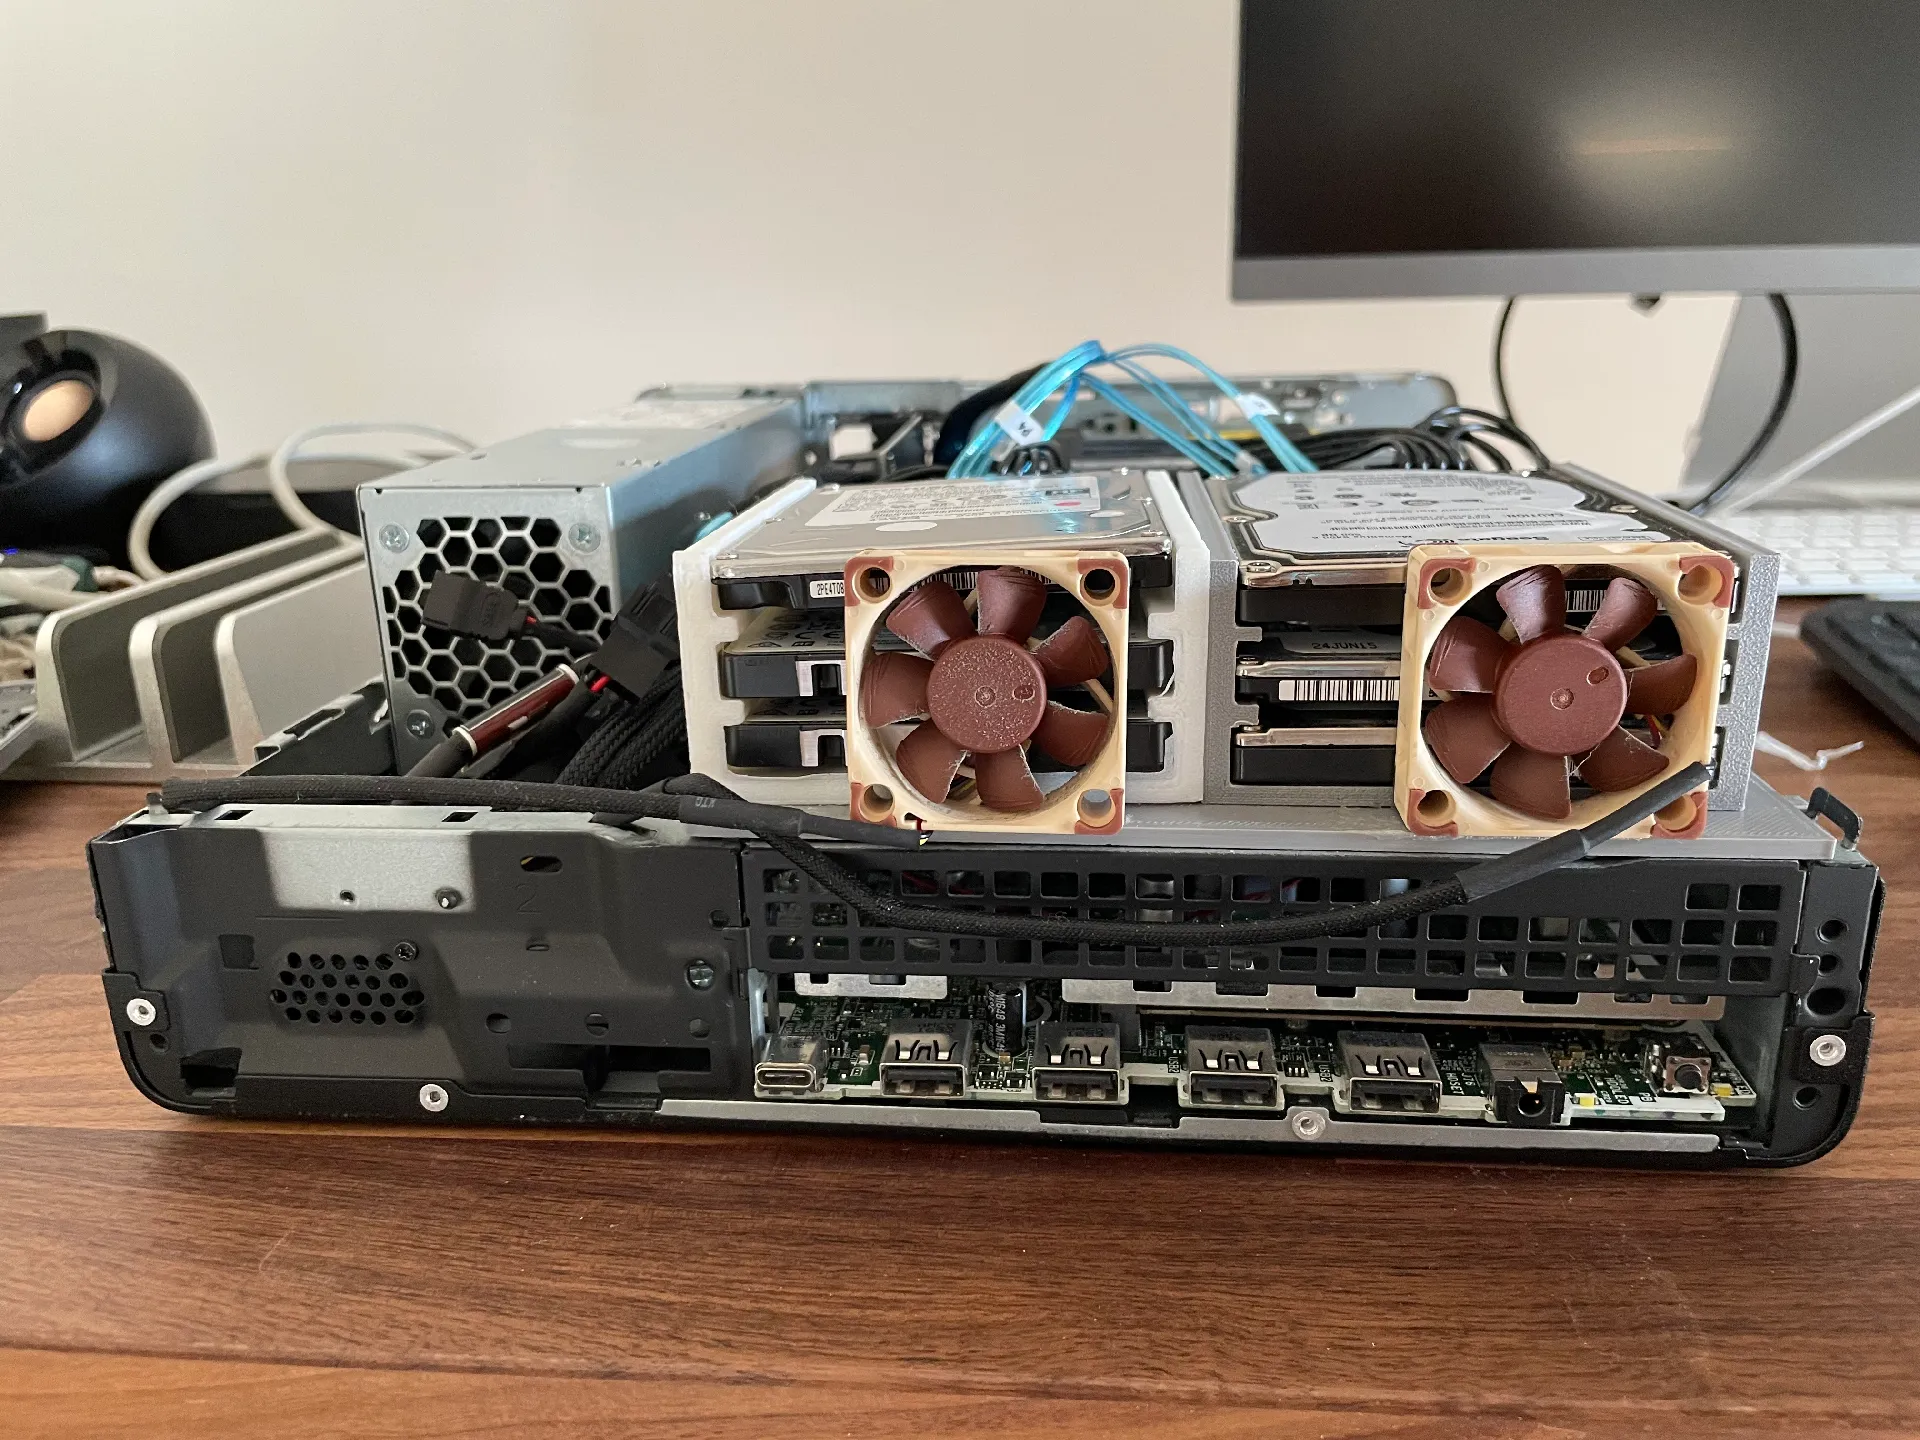
I started with an HP ProDesk 600 G3, an old PC picked up for next to nothing on eBay — the perfect balance of cost, performance, and power consumption. Along with the computer I bought six second-hand 2.5″ hard drives and a SATA expansion card. After a few hours in CAD and a bit of patience, I 3D-printed everything needed to fit the drives inside the original case.
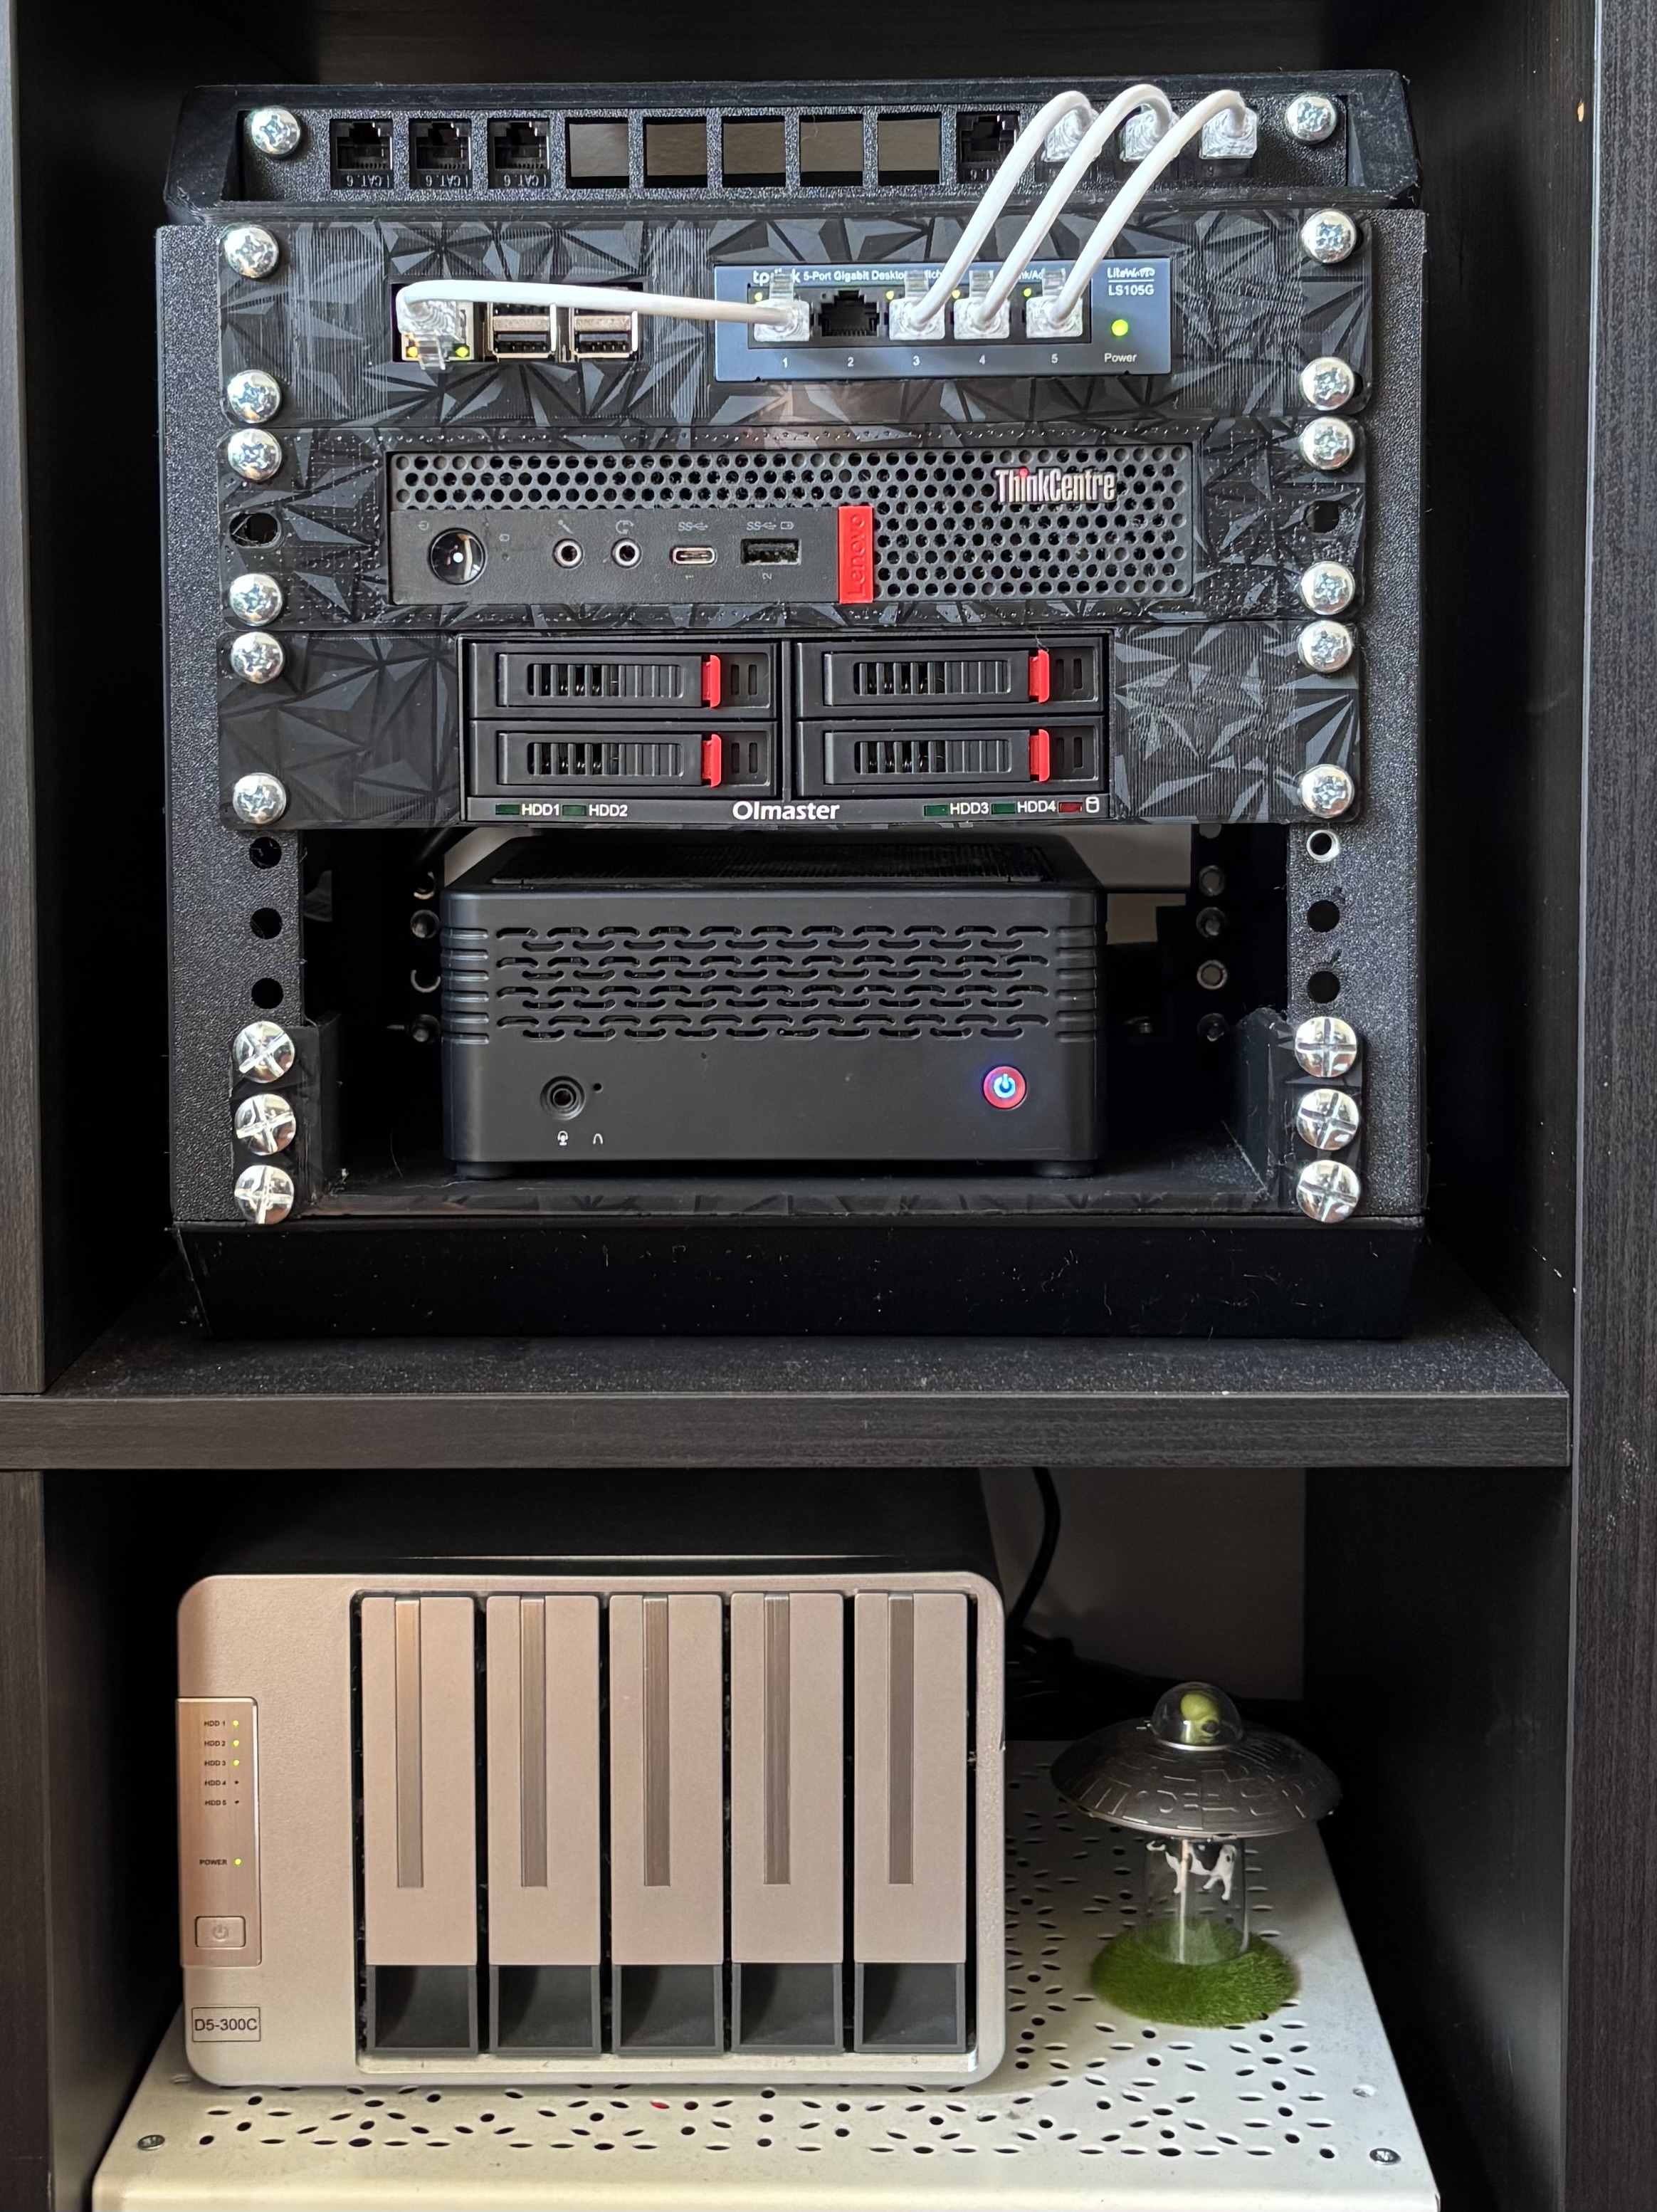
The setup has evolved since then. The HP has been retired, two new mini PCs have joined the fleet, and after a few dozen more hours of printing, they found a home in a dedicated mini rack. Not only did the machines multiply, but so did the number of deployed services — and with them, the complexity of managing everything.
At first it was simple: SSH into the machine, write the docker-compose.yml by hand, configure the reverse proxy, create config files, wrestle a bit with permissions, and off the service went. Nothing complicated — until something went wrong: a configuration error and there was no going back. I’d have to hope I had saved a working version somewhere. Moving a service from one machine to another? An ordeal.
So I decided to combine two of my passions: homelabbing and continuous delivery (I’m one of the signatories of minimumcd.org). After all, why spend half an hour doing manually what you can automate in tens and tens of hours?!? Jokes aside, it was a valuable learning experience for me, and that’s really what drives anyone who decides to build their own homelab — it’s not about saving money, often it’s not even about privacy, but about the desire to experiment and learn something new.
Explanation — the infrastructure at a glance
Before I talk about the solution, let me step back and give some context. Here’s what my infrastructure looks like today:
- Two machines in total, both configured automatically via Ansible scripts
- Docker services orchestrated through Portainer, installed on both machines
- A reverse proxy (SWAG) on one of the machines, exposed to the outside for everything that needs to be reachable from the internet
- Homepage — a dashboard showing all services, updated automatically
Plus another dozen or so services that I won’t mention for brevity.
Portainer is a graphical interface for Docker. SWAG is a LinuxServer container that bundles nginx, Certbot (SSL certificates), Fail2ban, and a pre-configured reverse proxy structure. Homepage is a service aggregator with automatic discovery via Docker labels.
The infrastructure was already working well. The problem wasn’t what ran the services, but how I set them up.
Practical case — the deployment flow
Here’s what happens today when I want to launch a new service:
- Open a terminal
- Run
cruft create https://github.com/Cirius1792/hs-service-template.git - Answer a few questions: service name, group, icon, domain
- Edit the generated
docker-compose.ymlwith the service’s image - Fill in the environment variables in
stack.env git pushto main — the repositories live on a Gitea instance directly on one of the machines
The rest is automatic. Here’s the flow:
How the template works
The core of the solution is a Cookiecutter template, managed with cruft to keep generated repositories in sync with template updates.
When a new project is generated, you get a fully structured repository with:
- docker-compose.yml — service definition with Homepage labels (group, icon, URL)
- stack.env — service environment variables (TZ, PUID, PGID…)
- SWAG config — nginx configuration for the reverse proxy (optional)
- configurations/ folder — version-controlled service config files with a remote destination map
- 5 pre-built CI/CD workflows:
deploy-stack.yml— validates the compose, creates/updates the stack in Portainerdeploy-swag-config.yml— uploads nginx config to the SWAG host via SSH, validates withnginx -t, and reloads the servicedeploy-configurations.yml— distributes config files to target machinescruft-update.yml— weekly check for template updates, opens a PR with changes already applied
- Renovate configured — when a new version of a service is available, it automatically opens a PR. All I have to do is review and approve.
Git is the source of truth. Every commit is a restore point. Every push is a deploy. Mess something up? Go back to the previous commit and try again.
Concrete benefits
- No more SSH to install a service
- Instant rollback: wrong config →
git revert→ push → the previous deployment is live again - Move a service from one machine to another? Change the
PORTAINER_ENVIRONMENT_IDsecret and push - Automatic updates with Renovate: when a new version is available, a PR arrives
- The template updates itself with cruft: if you improve the template, all existing services receive a PR
All the technical details — secrets, environment variables, SSH commands, file formats — are in the repository README.
Conclusion
When I started, setting up a service meant 30 minutes of SSH, manual file copying, and a silent prayer that everything would work on the first try. Today it’s a cruft create, a few edits to the compose file, and a push.
At the end of this journey, what I’m left with isn’t just a working template or pipelines that do the dirty work for me. It’s the confirmation that having a small server in a closet, in the basement, or tucked away on some shelf — where you can break things without consequences, where you can try a different tech stack when you have time, where every problem is an opportunity to understand something new — is one of the most effective learning experiences out there.
That old HP ProDesk, with its 3D-printed drive bays and fans held together with a bit of glue, wasn’t just a server. It was a testing ground where I got my hands dirty with Ansible for the first time, where I really understood how a reverse proxy and certificate management work, where I saw with my own eyes the difference a well-built CI/CD pipeline makes and learned what works and what doesn’t, how to do things and, most importantly, how not to do them. Every problem I encountered — a container that wouldn’t start, an expired certificate, a forgotten config file, an unreachable service — was a lesson.
The template is public, designed to work with Gitea but adaptable to GitHub with minimal changes. Maybe it’s not for everyone, maybe someone else’s setup is completely different. But if there’s one thing I’ve learned, it’s that it’s always worth investing time to learn something new, even if just for the sake of it. Even if the final solution is a “work in progress”. Which, after all, is true of any self-respecting homelab.